
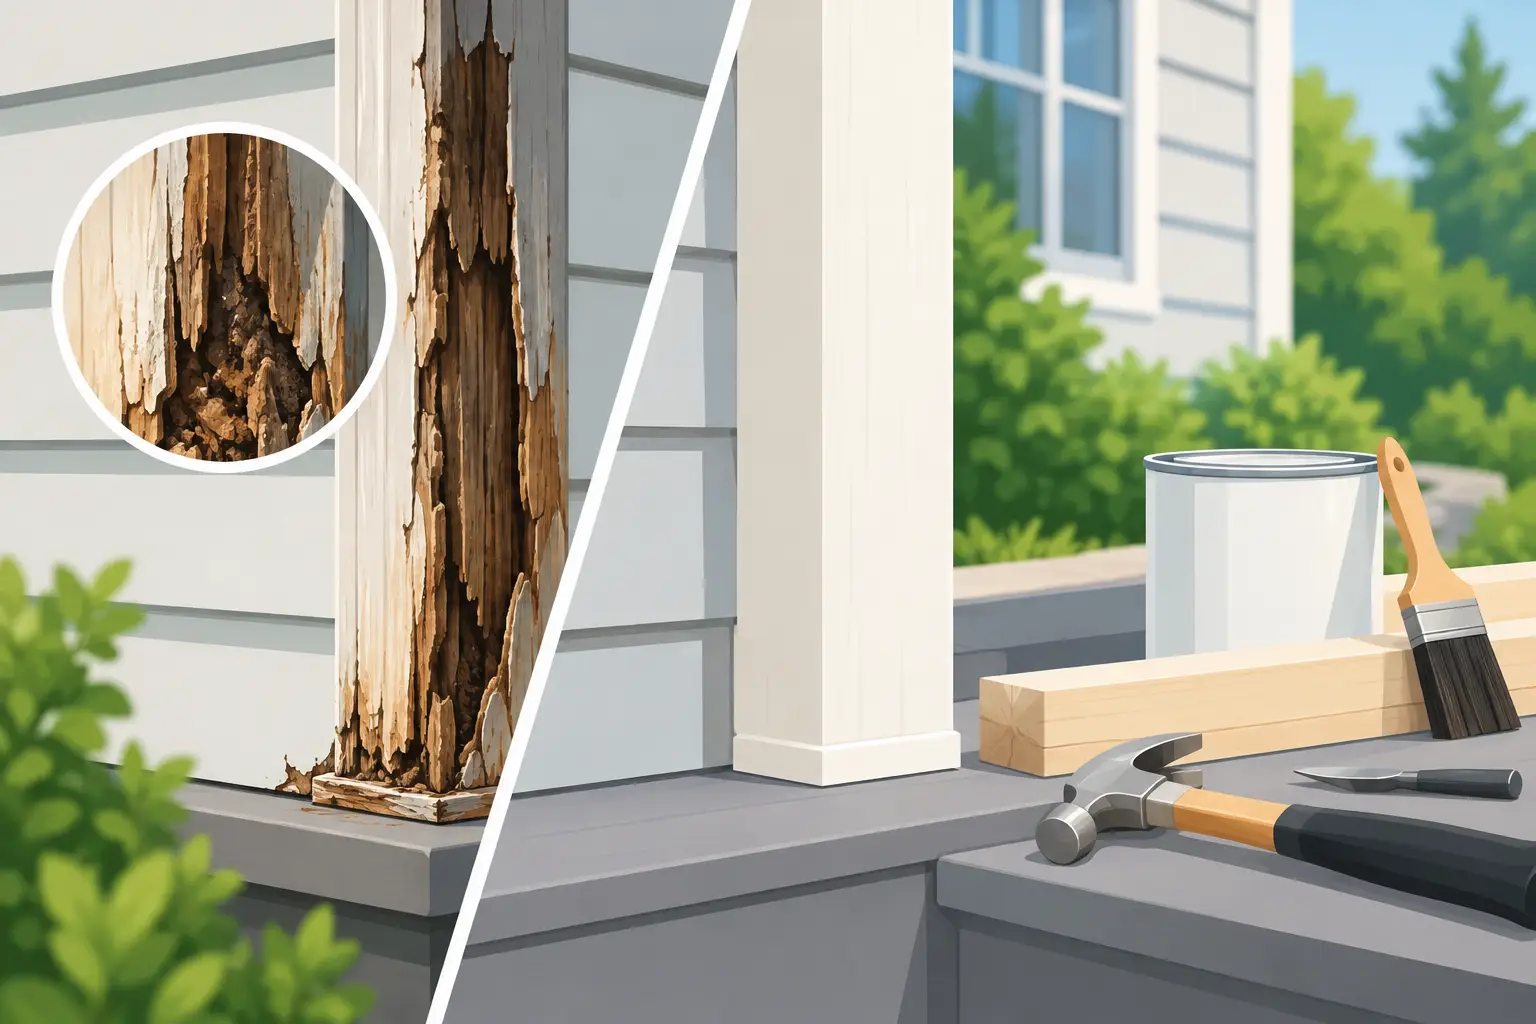
A soft porch post, peeling paint around a window, or a deck board that gives slightly underfoot can be more than a cosmetic issue. This exterior wood rot repair guide helps Metro Atlanta property owners identify what has failed, understand why it happened, and choose a repair that lasts instead of covering the problem for one season.
Wood rot is usually a moisture-management problem first. Rain, humidity, clogged gutters, failed caulk, poor drainage, and unsealed end grain all give water a way into exposed lumber. Once wood stays wet long enough, fungal decay begins to break down its fibers. Paint may hide the evidence for a while, but it cannot restore damaged material underneath.
Start by Finding the Source of Moisture
Before removing a single board, determine where the water is coming from. A repair will not hold if the same leak or drainage issue continues behind it. On Atlanta-area homes, rot often appears where trim meets brick or siding, around older windows and doors, at rooflines, on fascia boards, and at porch or deck framing close to the ground.
Look above and around the damaged area. Overflowing gutters can soak fascia and rafter tails. A roof leak can travel along framing before appearing at a window or soffit. Sprinklers may repeatedly wet low trim. At decks and porches, standing water against posts, ledger boards, and stair stringers creates a steady cycle of wetting and drying that shortens the life of the wood.
Check caulked joints as well. Cracked caulk, open seams, and paint separation are not always the original cause, but they are common entry points. The goal is not to seal every gap blindly. Exterior assemblies need proper flashing and drainage paths, not just more caulk. Caulk used in the wrong place can trap water where it should be able to escape.
How to Tell Whether Wood Rot Is Surface-Level or Structural
Paint condition alone does not tell the full story. Probe suspect areas gently with an awl, screwdriver, or similar pointed tool. Sound wood resists pressure. Rotten wood feels soft, crumbly, stringy, or unusually easy to puncture. Tap the board too. Solid wood generally sounds firm, while decayed areas may sound hollow or dull.
Surface damage is limited to a small, shallow area of otherwise sound wood. It may be appropriate for a carefully prepared epoxy repair or wood filler, especially on decorative trim where replacing a full piece would disturb surrounding finishes. The damaged material still needs to be removed completely, and the area must be dry before repair material is applied.
Replacement is the better choice when decay extends through the board, reaches a joint, affects fastener holding strength, or covers a large portion of the piece. A filler repair on a soft fascia board or a deteriorated window sill may look acceptable at first, but it will not restore the board's strength or solve water intrusion.
Structural rot needs more caution. Porch columns, deck posts, rim joists, ledger boards, stair framing, roof framing, and wall sheathing can all affect safety. If you notice sagging, movement, loose railings, insect activity, spongy flooring, or cracks around a load-bearing member, avoid treating it as a simple trim repair. The affected area may need temporary support and a proper scope before materials are removed.
Exterior Wood Rot Repair Guide: Choose the Right Fix
The right repair depends on the wood's role, the extent of decay, and the condition of the surrounding assembly. A small patch and a full replacement are not interchangeable solutions.
For a small, nonstructural area, remove all loose paint and decayed fibers until you reach clean, firm wood. Let the area dry fully. Apply a wood consolidant if the repair system calls for it, then use a high-quality exterior epoxy or filler designed for the depth of the repair. Shape it after curing, sand it smooth, prime it, and apply exterior paint. This approach works best for limited detail repairs, such as a small section of trim profile.
For trim, fascia, corner boards, and window or door casing with deeper decay, replacement is usually more dependable. Remove the failed board without damaging the adjacent siding, brick molding, or flashing. Inspect the substrate behind it before installing new material. If the sheathing, framing, or flashing is also wet or deteriorated, those items must be addressed before new trim goes on.
Use materials suited to the location. Primed exterior wood can provide a traditional finish, but every cut edge and exposed end grain needs sealing. PVC trim does not rot and can be useful in high-exposure areas, though it expands differently than wood and needs correct fastening. Fiber cement products resist rot well, but they require proper cutting, clearance, and installation details. The best material is the one that fits the existing design, budget, and moisture exposure without creating a mismatch in appearance or performance.
Deck and porch repairs deserve a separate level of attention. Replacing a few surface boards may be reasonable if the framing underneath is solid. However, soft joists, a damaged ledger, rotted post bases, or failed connections call for a broader repair. New decking installed over compromised framing only delays a larger project and can create a safety concern.
Do Not Skip Flashing, Priming, and Paint Prep
A clean-looking repair can fail quickly when the finishing steps are rushed. Exterior paint is part of the protection system, not just the final color coat. New or repaired wood should be dry, properly prepared, and primed with an exterior-rated primer before painting.
Prime all sides of replacement wood when practical, especially end grain, cut edges, and areas that will be difficult to reach after installation. Use corrosion-resistant fasteners appropriate for exterior conditions. Countersunk fasteners and unsealed holes give water another path into the board.
Flashing matters just as much. Window trim needs a clear path for water to shed away from the wall. Horizontal trim, porch beam tops, and other flat surfaces may need drip edges, cap flashing, or a sloped detail to prevent water from sitting. If a repair repeatedly fails in the same spot, the issue is often the design of the water path rather than the paint product.
When a DIY Repair Becomes a Contractor Job
Homeowners can often handle minor paint removal, cleaning, and small cosmetic patches. But exterior rot has a way of extending behind finished surfaces. Calling a contractor early can prevent a localized repair from becoming a larger siding, window, deck, or structural project.
Professional help is the practical choice when rot is near rooflines, windows, doors, electrical fixtures, deck connections, support posts, or load-bearing framing. It is also wise when you cannot identify the water source, when multiple areas are failing, or when the repair requires matching existing siding and trim details.
A clear repair scope should explain what will be removed, what material will replace it, how moisture will be redirected, and what finish work is included. Ask whether the area behind the damaged wood will be inspected before replacement is installed. That simple step helps prevent surprises after the crew is already on site.
For homeowners who need coordinated carpentry, exterior painting, deck work, or related repairs, Plus Home Investment can assess the damaged area and provide a straightforward estimate. The focus should be on fixing the cause, restoring the affected materials, and leaving the exterior with a professional finish.
Keep Rot From Returning
Prevention is usually less expensive than repair. Walk the exterior after heavy rain a few times each year. Watch where water spills, splashes, pools, or runs down siding. Keep gutters clean, extend downspouts away from the foundation, and trim back plants that hold moisture against trim or deck framing.
Maintain paint and caulk before they fail completely. Address peeling paint, open joints, and loose boards early. On decks and porches, keep leaves and soil from building up between boards or against posts. Make sure grade and mulch stay below wood siding and trim, since constant ground contact can keep the material wet.
A sound exterior is built from small details done well: dry wood, correct flashing, protected cut edges, and a finish that is maintained on time. If a board feels soft or a painted surface keeps failing, treat it as a chance to find the water path now, before the repair gets bigger.