
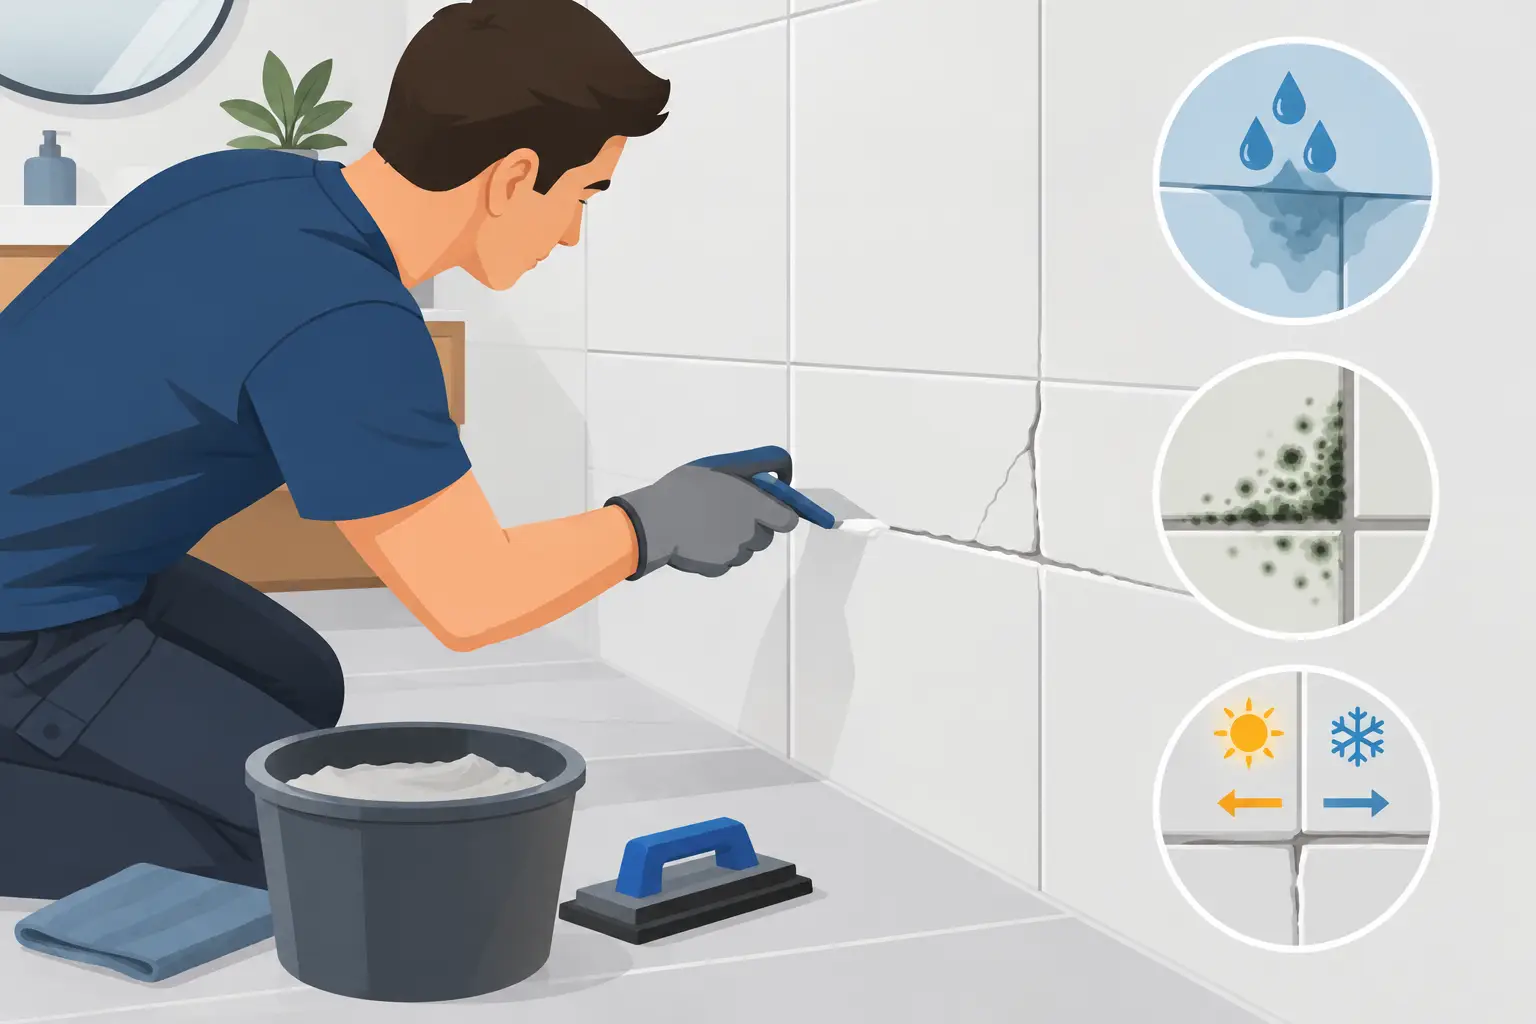
A cracked grout line can make an otherwise clean bathroom, kitchen, or entryway look unfinished fast. More importantly, it can be the first visible sign that water or movement is getting where it should not. Knowing how to fix cracked grout starts with more than filling the gap. You need to understand why that joint cracked in the first place.
A small, isolated crack is often a manageable repair. Repeated cracking, loose tile, dark staining, or soft flooring calls for a closer look before new grout is installed. Addressing the cause now can prevent a more expensive tile repair later.
Start by Finding Out Why the Grout Cracked
Grout is a hard material. It does not flex well when a floor, wall, countertop, or surrounding framing moves. That means grout cracks are often a symptom, not the full problem.
In Metro Atlanta homes, seasonal humidity, settling, and moisture around showers can all contribute to movement. A hairline crack in an older floor may result from normal settling. A crack running along several tiles, especially in a shower or near a doorway, may point to an installation or substrate issue.
Look closely at the damaged area. If the surrounding tiles are solid, level, and firmly attached, a localized grout repair may be all you need. Tap each tile gently with a coin or the handle of a screwdriver. A hollow sound, a tile that shifts under pressure, or a tile with a lifted edge suggests the tile bond underneath has failed. New grout will not correct that condition.
Also pay attention to where the crack is located. Changes of plane need flexible sealant, not grout. That includes the inside corners of a shower, where a tiled wall meets a tub, where a backsplash meets a countertop, and where tile meets another material. Those areas move independently, and grout placed there commonly cracks again.
When Cracked Grout Is a DIY Repair
A homeowner can usually repair cracked grout when the damage is limited to a few joints and the tile itself is stable. This is common on a backsplash, a bathroom floor outside the shower, or a small section of kitchen tile.
Choose a repair when the crack is clean and dry, there is no missing or loose tile, and there are no signs of water damage below or behind the tiled surface. For a shower, do not assume a quick surface fix is enough if you notice persistent mildew, staining, soft drywall outside the shower, or moisture coming through the ceiling below. Those signs require a proper inspection.
Matching the existing grout also matters. Sanded grout is generally used in wider joints, while unsanded grout is common for narrow joints and certain wall tile. Using the wrong product can leave a rough finish, weak joints, or a noticeable color difference. If the original grout is heavily aged or discolored, even a correct repair may stand out. In that case, cleaning and resealing the full tiled area after the repair can create a more consistent finish.
How to Fix Cracked Grout Step by Step
Before starting, gather a grout saw or carbide grout-removal tool, a shop vacuum, replacement grout that matches the existing type and color, a rubber grout float, a sponge, clean water, and a soft cloth. Wear eye protection. Grout dust is abrasive, and small pieces can chip out unexpectedly.
Remove the Damaged Grout First
Do not apply fresh grout directly over a crack. It will have little depth to bond to and will usually fail again quickly.
Use the grout saw to remove the cracked material from the joint. Work slowly and keep the tool centered between the tile edges. The goal is to clear out loose grout without scratching the face of the tile or cutting into its edges. For a durable repair, remove grout to a depth of at least one-quarter inch when the joint allows it.
Vacuum out all dust and loose debris. Then wipe the joint with a damp sponge and let it dry. A clean joint gives the new grout a better chance to bond properly.
Mix and Apply New Grout
Follow the grout manufacturer’s mixing directions closely. The right consistency is usually similar to smooth peanut butter: firm enough to stay on the float but workable enough to pack fully into the joint. Mixing grout too thin weakens it. Adding extra water after it begins to set can also reduce its strength and affect the color.
Press grout diagonally across the joints with the rubber float. This motion helps force material into the full depth of the gap rather than dragging it back out. Work in small sections, especially on a wall or backsplash where grout can begin to firm up quickly.
Hold the float at a sharp angle to remove excess material from the tile faces. The joints should look full and even, without low spots or pinholes.
Clean the Tile at the Right Time
Wait until the grout begins to firm up, then wipe the surface with a lightly damp sponge. Do not soak the sponge or flood the joints with water. Too much water can pull pigment from the grout and leave a blotchy finish.
Use gentle diagonal passes across the tile, rinsing the sponge frequently. Avoid digging into fresh joints. After the grout has dried according to the product instructions, wipe away the remaining haze with a dry microfiber cloth.
Let the repair cure before exposing it to water, foot traffic, or heavy cleaning. Cure times vary by product, so the package directions matter. In a shower, patience is especially important. Using the area too soon can weaken the repair before it has fully hardened.
Use Caulk, Not Grout, at Movement Joints
If the crack is in a corner or along the edge where tile meets a tub, countertop, wall, or floor, remove the failed grout and use a color-matched, mildew-resistant silicone or flexible tile sealant instead. This is not a shortcut. It is the correct material for a joint designed to move.
Clean out the old material completely, make sure the joint is dry, and apply a consistent bead of sealant. Smooth it with a caulk tool or a gloved finger lightly dampened with water. Clean edges make a major difference in the finished appearance.
The trade-off is that caulk may need replacement sooner than grout, particularly in a busy shower. But it protects the joint better because it can flex as the surfaces move.
When a Grout Repair Will Not Hold
Fresh grout that cracks again within a short time is a clear sign to stop patching and investigate. The problem may be insufficient subfloor support, a cracked tile backer board, water damage, poor tile bonding, or the lack of an expansion joint. On floors, deflection from a weak or uneven subfloor can cause cracks to follow the same line across multiple grout joints.
In showers, cracked grout combined with loose tile or recurring moisture is worth addressing promptly. Grout is not waterproof. Tile assemblies rely on proper waterproofing behind or beneath the tile, and damaged areas can allow water to reach materials that were never meant to stay wet.
A professional assessment is also the practical choice when cracked grout is widespread, tile is moving, repairs involve natural stone, or the affected area is part of a larger bathroom or flooring update. Removing and replacing a small section correctly can be more cost-effective than repeated patch repairs that never solve the underlying issue.
Plus Home Investment helps Metro Atlanta property owners evaluate tile damage, make clean repairs, and plan larger bathroom, kitchen, and flooring upgrades when needed. The right scope depends on what is happening behind the visible crack, and a clear assessment helps prevent surprises.
A grout crack does not always mean a full renovation is ahead. But it does deserve a careful look. Repair the joint when the tile is stable, use flexible sealant where surfaces meet, and treat repeat cracks as useful information about the structure beneath your finish.