
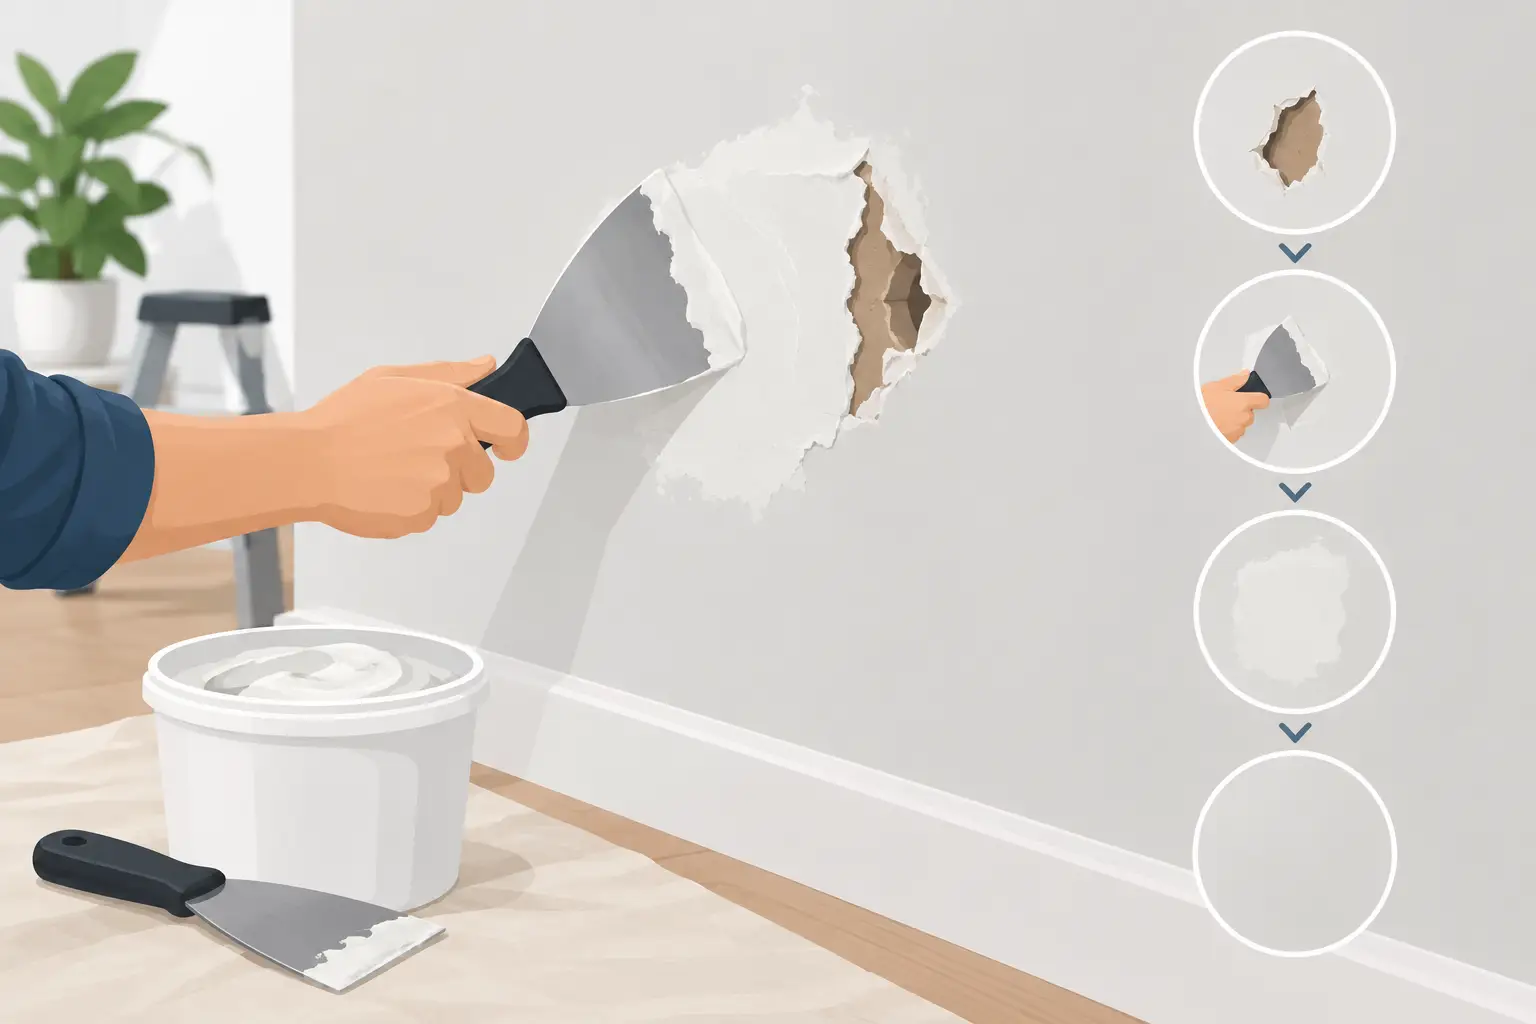
A door knob hole, a moving-day scrape, or a wall anchor pulled out at the wrong angle can make an otherwise clean room look neglected. Knowing how to patch damaged drywall helps you handle minor wall damage before it grows into a larger painting or repair project. The key is matching the repair method to the size and cause of the damage, then taking the time to create a smooth finish.
A patch that looks good on day one can still fail if the wall is damp, the drywall is loose, or the joint compound is rushed between coats. Start with a clear look at what happened, not just what the hole looks like.
Check the Cause Before You Patch Damaged Drywall
Drywall damage is not always a simple surface problem. Small dents, nail holes, and scuffs are usually cosmetic. A larger puncture may only need a patch. But cracks that continue across a wall or ceiling, soft drywall near a bathroom, or repeated damage in the same area can point to movement, moisture, or framing issues behind the surface.
Press lightly around the damaged area. If the drywall feels soft, crumbly, or wet, do not cover it with compound. Find and correct the moisture source first. In Metro Atlanta homes, plumbing leaks, roof leaks, and high bathroom humidity can all damage drywall from behind.
For a crack, look for signs of change. A thin, stable crack near a door or window can often be repaired. A widening crack, a crack that returns after repair, or a ceiling crack paired with sagging deserves a professional inspection. The same applies when drywall is damaged around an electrical outlet, plumbing line, or load-bearing wall.
Gather the Right Repair Materials
The materials depend on the repair, but most standard drywall work calls for a few basics:
- Lightweight spackle for tiny holes and shallow dents
- Setting-type or premixed joint compound for broader repairs
- A putty knife and wider drywall knives
- Drywall sanding sponge or fine-grit sandpaper
- Self-adhesive mesh patch or drywall repair clips for medium holes
- New drywall, drywall screws, and a utility knife for larger holes
- Drywall tape for seams and cracks
- Primer and matching wall paint
Protect the floor with a drop cloth. Drywall dust travels farther than most homeowners expect, especially when sanding near HVAC returns. Wear eye protection and a dust mask. If you are working in an older home with unknown paint history, avoid aggressive sanding until you have considered lead-paint testing.
Repair Nail Holes, Dents, and Small Gouges
Small nail holes and picture-hanger marks are the quickest repairs. Remove loose paper or chipped paint around the opening with a utility knife. Then press lightweight spackle into the hole using a putty knife. Pull the knife across the area in more than one direction so the filler sits flush with the wall.
Let it dry according to the product instructions. Some lightweight products dry quickly, while deeper fills need more time. Sand lightly until the repair feels smooth when you run your hand across it. Do not over-sand, or you may expose the drywall paper around the patch.
Prime the repaired spot before painting, especially on a darker wall or a wall with a satin or semi-gloss finish. Primer prevents the patched area from absorbing paint differently and showing through as a dull spot called flashing.
Fix a Small Hole With a Mesh Patch
Holes up to several inches wide, often caused by door knobs or an accidental impact, can usually be repaired with a self-adhesive mesh patch. Trim loose drywall paper and broken gypsum from the edge of the hole first. The surface needs to be solid, flat, and free of dust for the patch to bond properly.
Center the mesh patch over the opening and press it firmly onto the wall. Cover it with a thin coat of joint compound, pushing compound through the mesh. Then feather the compound beyond the patch edges. The first coat should cover the mesh, but it does not need to be perfectly smooth.
After it dries, apply a second, wider coat. This is where many repairs go wrong. If the compound stops right at the patch edge, the repair will leave a visible raised square after painting. Extend each coat farther than the one before it, using a wider knife to blend the repair into the wall.
Most mesh repairs need two or three thin coats. Let each coat dry fully, sand lightly between coats, and inspect the wall from the side using a work light or flashlight. Side lighting makes ridges and low spots easy to see before paint makes them permanent.
How to Patch Damaged Drywall With a Larger Cutout
For a hole larger than about 6 inches, a solid drywall patch usually creates the best result. A mesh patch may work for some openings, but a proper cutout repair is stronger and less likely to show through over time.
Start by cutting the damaged area into a clean square or rectangle. Use a drywall saw or utility knife carefully. Before cutting, check for wires, pipes, or other utilities. If you are uncertain what is behind the wall, stop and have the area evaluated.
Install wood backing strips inside the opening, extending several inches beyond the edges of the cutout. Hold each strip in place and drive drywall screws through the existing wall into the wood. Cut a new piece of drywall to fit the opening, fasten it to the backing, and keep the patch face level with the surrounding wall.
Apply drywall tape over each seam. Paper tape provides a clean, durable finish when embedded properly in joint compound, while mesh tape is convenient for some repairs. Cover the tape with a thin coat of compound, pressing out excess material and air bubbles. Once dry, apply two wider coats, feathering the edges farther out each time.
This process takes patience. Joint compound shrinks as it dries, and heavy coats often crack or take much longer to cure. Thin coats create a flatter, more professional finish with less sanding.
Repair Cracks Without Letting Them Return
A crack cannot simply be covered with spackle and expected to stay gone. Use a utility knife to gently widen the crack into a shallow V shape, then remove dust and loose material. This gives the compound a better surface to grip.
For most drywall cracks, apply joint compound, embed drywall tape over the crack, and add another thin layer of compound. Feather the edges, allow the area to dry, and apply additional coats as needed. If the crack follows a drywall seam, tape is especially important because it reinforces the joint.
Hairline cracks caused by normal seasonal movement may still reappear over time. That is a trade-off of working with a house that expands and contracts. However, recurring cracks can also mean the original seam was poorly finished or the framing is moving more than it should.
Sand, Prime, and Paint for a Finish That Blends In
The final finish is what separates an acceptable patch from a repair that disappears into the room. Sand with light pressure using a fine sanding sponge. Your goal is to remove knife lines, not flatten the repair aggressively. Wipe away dust with a dry microfiber cloth or vacuum it using a brush attachment.
Prime the patched area, then paint. If you have the original paint, confirm that it is still a close match. Paint color can shift over time due to sunlight, cleaning, and normal aging. Even with the same paint can, a touch-up may show on a large or highly visible wall.
For the best blend, paint from corner to corner when the wall has noticeable fading, a dark color, or a sheen above flat paint. Flat paint hides repairs most easily. Satin, eggshell, and semi-gloss finishes reflect more light and reveal uneven surfaces, so prep work matters even more.
When It Makes Sense to Call a Drywall Professional
A homeowner can handle many small drywall repairs with steady preparation and enough drying time. It makes sense to bring in a professional when there is water damage, repeated cracking, a large hole, ceiling damage, texture matching, or repairs that connect to broader painting, carpentry, or remodeling work.
A coordinated repair also helps when the wall damage is only one part of the project. For example, a bathroom leak may require drywall replacement, tile repair, painting, and moisture correction. Handling those pieces together keeps the scope clear and avoids covering up a problem that should have been fixed first.
If the repair needs more than a quick patch, Plus Home Investment can assess the damaged area, explain the practical options, and provide a clear scope before work begins. A well-finished wall should look like the damage never happened - and the repair behind it should be built to last.