
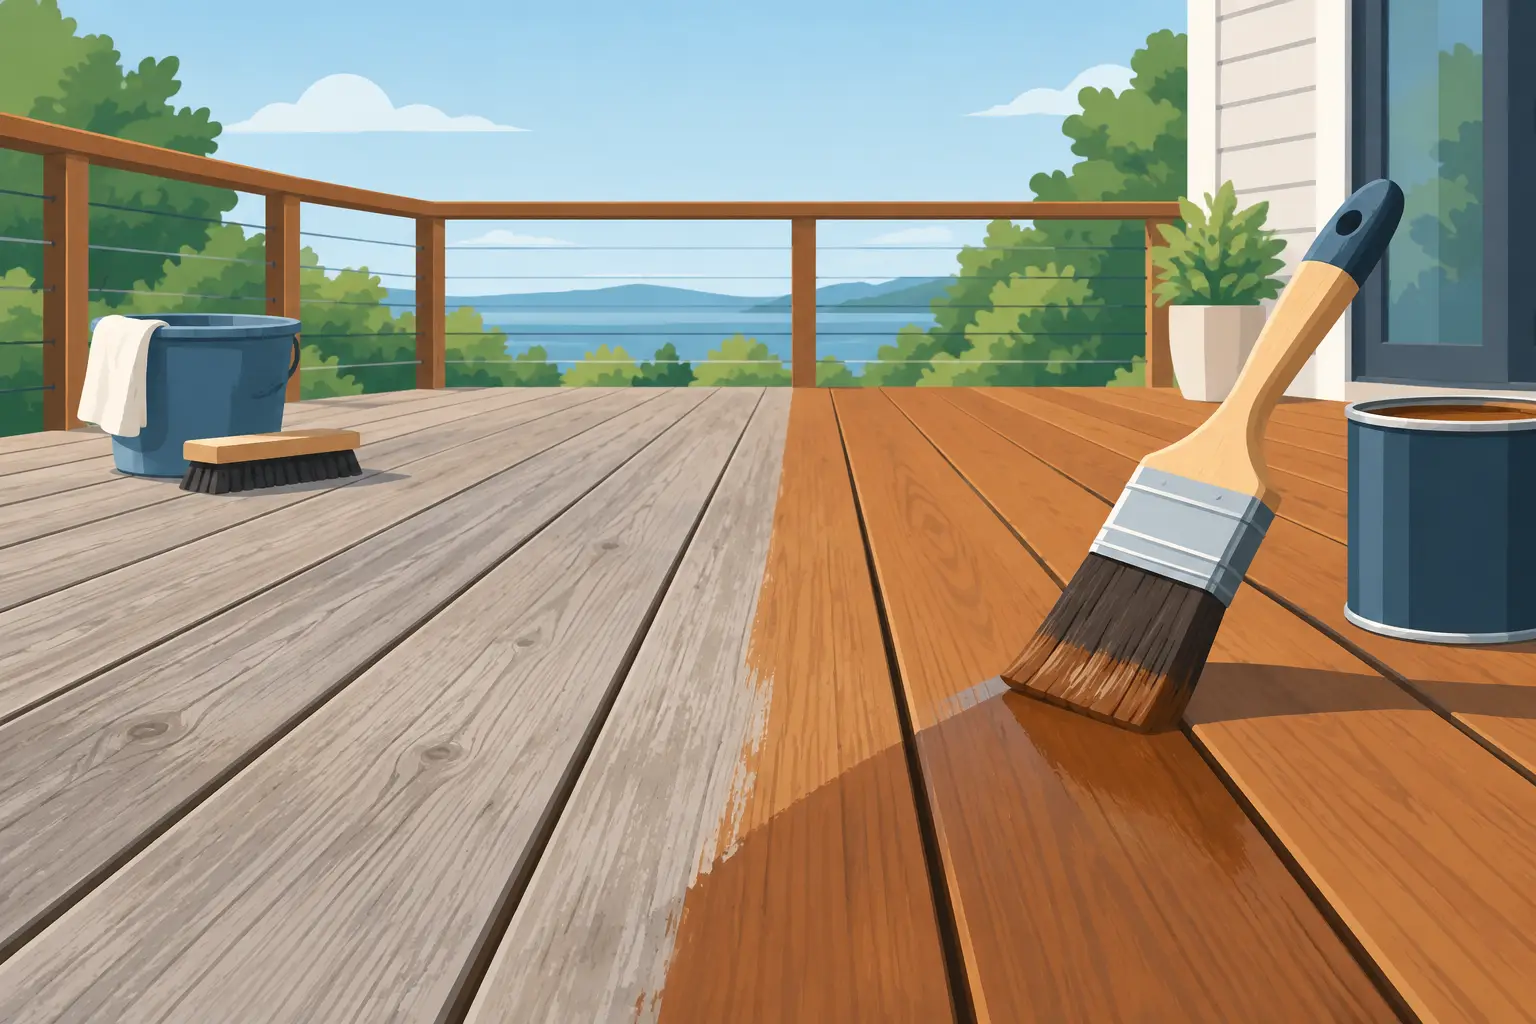
A gray, splintered deck does not always need to be replaced. In many cases, homeowners can refinish deck boards and bring back a cleaner, more protected surface for a fraction of the cost of rebuilding. The key is knowing whether the boards are weathered on the surface or failing from the inside out.
Metro Atlanta decks take a steady beating from humid summers, heavy rain, pollen, falling leaves, and strong sun. A proper refinishing job does more than improve color. It removes failing coatings, addresses small repairs before they grow, and puts a protective finish back where the wood needs it most.
First, Decide Whether the Deck Can Be Refinished
Refinishing works best when the deck framing is sound and the boards are still structurally solid. Surface graying, light splintering, faded stain, mildew, and peeling paint are common restoration issues. Those problems can often be corrected with cleaning, sanding, minor carpentry repairs, and the right finish.
Walk the deck slowly before buying stain or scheduling work. Look for boards that flex too much underfoot, deep cracks that run across the board, soft spots near fasteners, loose railings, and wood that can be easily pressed with a screwdriver. Check the ledger board where the deck connects to the house, along with posts, stairs, and joists below the deck.
A few damaged boards do not automatically mean the entire deck is beyond repair. Replacing selected boards before refinishing is often the practical choice. But widespread rot, unstable railings, significant sagging, or deteriorated framing calls for a more complete repair plan. Covering structural damage with stain will not make the deck safe.
Surface Weathering vs. Wood Rot
Weathered wood usually feels dry and rough, may show a silver-gray color, and may have shallow checking on the surface. It can still be strong. Rot is different. It tends to create soft, dark, crumbly areas and often develops where water stays trapped - around posts, under planters, near stair stringers, and between tight boards.
If you are unsure, it is worth having the deck inspected before refinishing begins. A clear scope prevents spending money on a finish that will need to be removed when repairs are discovered later.
How to Refinish Deck Boards the Right Way
A lasting deck finish depends on preparation. Skipping the cleaning or drying stage is one of the most common reasons stain peels, wears unevenly, or turns blotchy within a season.
Clear the deck and protect nearby areas
Remove furniture, grills, rugs, planters, and anything sitting directly on the surface. Sweep out leaves and debris from the gaps between boards. Cover nearby plants as needed, and protect siding, doors, and concrete from cleaning products or stain overspray.
This is also the right time to remove loose nails, reset raised fasteners, and replace corroded screws. Protruding fasteners can tear sanding pads, create trip hazards, and make an otherwise clean finish look unfinished.
Clean away dirt, mildew, and failing finish
Deck cleaners are designed to remove embedded dirt, mildew, pollen, and old stain residue. Use a product that fits the condition of the wood and follow its dwell-time instructions. Do not assume more chemical or more water pressure will deliver a better result.
Pressure washing can be useful, but it requires control. Too much pressure or holding the wand too close can carve grooves into soft wood fibers. Those marks show through stain and leave the deck feeling rough. For many wood decks, a lower-pressure rinse paired with a deck cleaner and a stiff brush gives a more even result.
If there is a thick, peeling solid coating, stripping may be necessary before sanding. That adds time and cost, but it is usually better than applying another coat over a finish that is already releasing from the wood.
Let the wood dry completely
Wood must be dry before it is sanded and coated. In Metro Atlanta, drying time changes with shade, humidity, recent rainfall, and airflow under the deck. A deck that looks dry at noon may still hold moisture after several damp nights.
As a general rule, allow at least 48 hours of dry weather after washing, and longer when conditions are humid or the deck is heavily shaded. A moisture meter gives the most reliable answer, especially on larger projects or older wood. Applying stain to damp boards can trap moisture and shorten the life of the finish.
Sand for a smoother, more even surface
Sanding removes raised grain, old finish residue, and splinters that cleaning alone cannot fix. It also helps create a more uniform surface so the stain absorbs consistently. Start with the least aggressive grit that will do the job. Going too coarse can leave swirl marks or make softer areas of the board absorb more stain than surrounding wood.
Not every deck needs aggressive sanding. A newer deck with light weathering may only need spot sanding and edge work. Older decks with peeling coatings, rough fibers, and heavy foot traffic may need more thorough preparation. Railings, steps, and board edges deserve attention too. Details matter because they are where bare wood and splinters tend to show first.
After sanding, vacuum or blow away dust, then make one final inspection. Replace any board that still feels soft, cracked through, or unsafe. It is easier to make that correction now than after the new coating is down.
Choose a Finish That Fits the Deck and Its Exposure
The best finish is not always the darkest color or the most opaque product. It depends on the wood condition, the look you want, and how much maintenance you are willing to do.
Transparent and semi-transparent stains show more of the natural grain. They work well on newer wood or boards with a consistent appearance, but they provide less coverage for discoloration and repairs. Semi-solid stains offer more color and better visual uniformity while still allowing some wood character to come through. Solid stains provide the most coverage and can make an older deck look more consistent, though they can peel if surface preparation is poor.
Oil-based and water-based products each have a place. Oil-based stains often penetrate well and can be easier to refresh without heavy stripping. Water-based coatings typically dry faster, offer strong color retention, and can be a good fit when a project schedule requires a quicker return to service. Product choice should follow the condition of the boards, not just what was used last time.
Before committing to a color, test it in a small, less-visible area. The same stain can look different on pressure-treated pine, cedar, previously coated boards, and boards that receive full afternoon sun.
Apply the Finish With the Weather in Mind
Plan application around a stable weather window. Avoid staining in direct, intense sun when the surface is hot, just before rain, or when overnight moisture is likely. Fast drying can make lap marks more visible, while rain can damage a fresh coating before it cures.
Apply stain in manageable sections, usually a few full-length boards at a time. This keeps wet edges together and gives the deck a more uniform appearance. Use a brush to work finish into board ends, cracks, and tight areas around railings, then use a roller or stain pad where it makes sense on open decking.
Do not overapply. Wood can only absorb so much product. Excess stain may remain tacky, attract dirt, or dry with shiny patches. Follow the manufacturer’s coverage and recoat guidance, and give the deck adequate cure time before returning furniture, rugs, and grills.
Protect the New Finish Between Major Projects
A refinished deck still needs basic maintenance. Sweep away leaves, rinse off pollen, and move planters occasionally so water does not stay trapped in one spot. Keep gaps between boards clear to support drainage and airflow. If water no longer beads on the surface, it may be time for a maintenance coat before the wood starts to gray again.
Most decks need attention every few years, but shaded decks, high-traffic areas, and decks exposed to full sun may need it sooner. A quick annual inspection can catch loose boards, failed caulk around nearby trim, and moisture trouble before those issues become larger carpentry repairs.
If your deck needs more than a fresh coat, Plus Home Investment can help evaluate the boards, complete needed repairs, and create a clear refinishing plan. A free estimate gives you a practical starting point, whether the job calls for targeted restoration or a larger outdoor upgrade.